
Blog
Your Perfect Wow Image: how to photograph your products
Jan
Your product looks absolutely stunning on the shelf, and after months of perfecting your packaging, you are now ready to advertise it on your site. But how do you take a wonderful image of your new product without spending a small fortune on a photographer? With the right camera and the right angle, you too can take a wow image for your website. There are a few basic things that you will need to purchase and best practices you will need to follow in order to get a perfect photo. If you still keep taking bad photos and can’t quite figure out why we’ll give you a couple of common mistakes first time photographers make, to help you diagnose your poor photos.
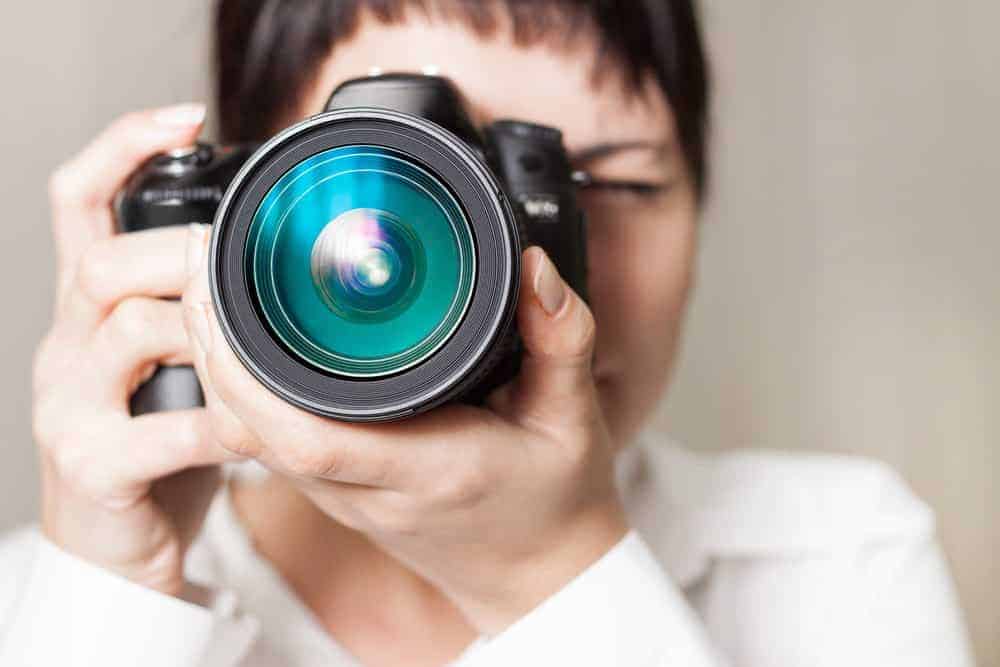
So what do you need? A basic need, that often seems impossible to pick, is a camera. Unless you want to start a career as a photographer, feel free to start with a basic edition, if you have a handy digital camera then you are going to be just fine. It’s a myth that the most expensive camera is the only camera that will take high-quality photos. There are a lot of different components that go into a photograph, lighting, camera, styling, and exposure. Now if we are really talking low budget, or have no desire to learn to shoot with a camera, there is absolutely no problem with that. The smartphone in your pocket can be just as effective! With today’s smartphone, the built-in camera can be used to take the same beautiful photo as one with a DSLR. Whether it is an iPhone or a Samsung, or any other brand, the autofocus and flash systems combined with video recording, a range of 8 to 16-megapixel cameras, can get you the shot you want. But it won’t just be the camera in your phone or the DSLR your purchase that will create a sharp look. There are a few more items you might need.
Having a steady shot is going to give you the clearest and most focused photo for you to put up on your site. The answer to a steady photo is a sturdy tripod to be able to adjust the width and depth of your field. Without delving into photography 101, you are going to want to have a slow shutter, which means your camera needs to be absolutely still. If you are shooting with your smartphone, you will still want a tripod to get a steady shot and not be limited as to the angle and how far away the camera is from your product. There are many tripods now designed to hold both a camera and a smartphone, and a quick search on Amazon will let you see your options. Search for a tripod with adjustable legs so you get the height and steadiness you want. If you want that clean, finished look to your product, also look into purchasing a white background. If you want to save some money on your white background, then you can go to any craft store and grab some white cloth and a frame. Make sure to get some foam core while you are there to make a sturdy product stand.
So now you have a white background, your product is perfectly positioned and you are ready to get the right shot. But first, you need to make sure you are in the optimal room. What you will be looking for ideally is a room with large windows for optimal natural lighting. Where you place your object will depend on the wall closest to your large window, you need to make sure that there are no shadows casted from the frame of the window itself. The large window should be approximately 90 degrees to the right or the left of the product. If you are looking for soft lighting, turn off the rest of the lighting in the room and place your product as close to the window as possible. Avoid direct lighting at all cost, it will make your products look unattractive and way too harsh. Finally, set your product in the center of the surface and try different angles to see which shot looks the best. Take some time to look at the picture on multiple platforms (i.e. the camera and even printed), before uploading it. If you are dissatisfied try different levels of lighting, different angles, and positions of the product.
Some common photography mistakes are pretty easy to diagnose and have simple fixes. If your images seem to have poor resolution or seem distorted, it may not be the picture taking process, but rather uploading the image. Find the right size for your image, dependent on the camera you shot with and the website you are uploading to. If you are manipulating a jpeg, be aware that they do not enlarge well, it is easier to go down in size then to try to go up. Let’s say that your product is coming out with less color, or too much color, making the product seem less desirable, this could be because your white balance setting is on automatic or custom. If you are shooting with natural light make sure that you have your white balance set to pick up warmer temperatures, and if you are choosing to go fluorescent in lighting then you will be photographing cooler temperature photos. Try to avoid using multiple light sources, the mixture will create a lighter picture, meaning that you won’t see warmer colors pop. Finally, for a well-rounded site, you are going to want to offer variety. Instead of just one view of your product provide your consumer with as many angles and options for images that you can. This way your product will have a clean and consistent look from all angles and will give the online shopper reassurance about the quality.
When shooting your product, you will want to go for a clean and simple look that emphasizes what your product has to offer over a busy background. There are many ways to shoot your product, and these are only a few tips! Collect what you need, even if you are on a budget, getting the right image for your website is attainable. Putting your best foot forward with good product images is just one of the many ways you can attract customers and entice them to buy!